Whether you're purchased an unstretched painting or wish to reuse your stretcher bars over and over again, you will need to learn precisely how to stretch a canvas. If the painting is minute in size, such as an 8x10, you won't have much difficulty. However, attempting to stretch a bigger piece of canvas can be immensely difficult. I find myself consistently stretching a bigger canvas, removing the staples and doing it again, in order to get the perfect tension. I love a stretched canvas, which beats like an Indian drum. Below, you'll learn precisely how to stretch a canvas, by following my method.
Things You'll Need
First and foremost, you're going to need a few items. These will be listed below for your convenience.
Some Recommendations
Everyone is different and each artist will prefer something unique. However, I figured I would provide you with my recommendations regarding canvas and stretcher bars. I've bought a handful varieties of each, so I have more than a little experience. First, the stretcher bars are crucial. I've purchased some from Hobby Lobby and was definitely disappointed. These bars don't secure together very well and make it difficult to get a good square finish, with plenty of tension. If you're going to purchase your own stretcher bars, I recommend using Fredrix or Jack Richeson. Both are great, secure together well and can be used repeatedly, without any troubles.
In terms of canvas, I generally buy two brands, Fredrix and Richeson again. I either purchase Richardson Caravaggio Canvas or Fredrix Primed Canvas. Despite doing everything else, I do not recommend priming your own canvas. I have also used Sargent Art's Canvas from Amazon. Although it is affordable, you can tell it. I can literally tear it in half with my bare hands. Still, it is good for those working on a limited budget and those that just want to paint as much as possible to enhance their skills.
Things You'll Need
First and foremost, you're going to need a few items. These will be listed below for your convenience.
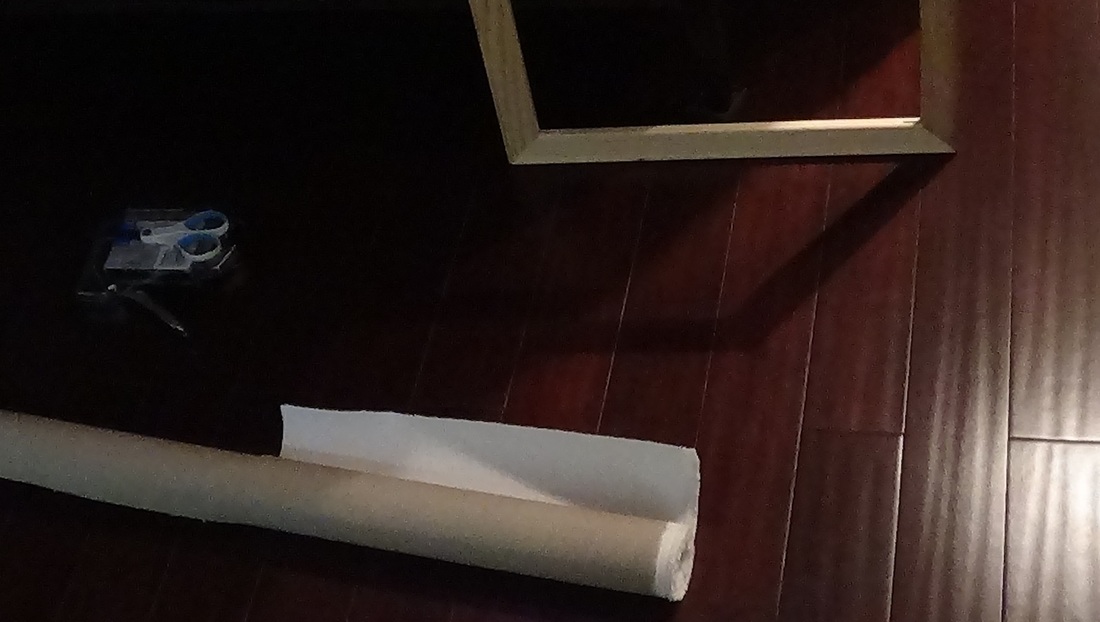
- The canvas, whether or blank or a finished piece
- Scissors
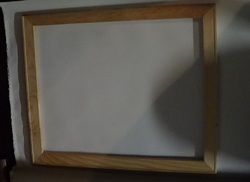
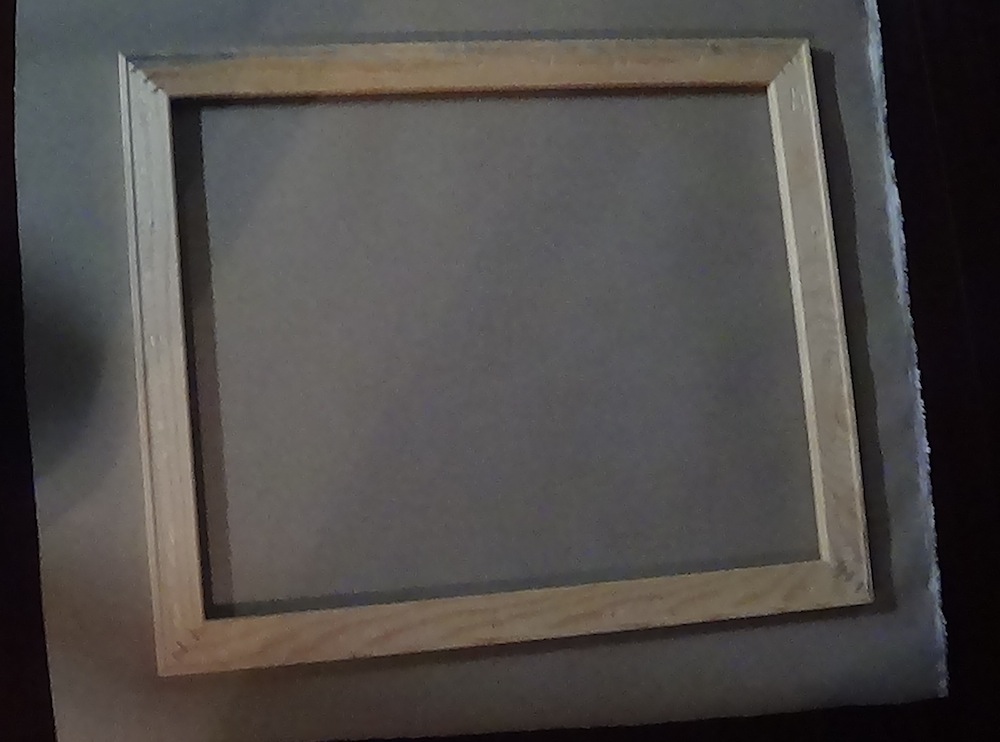
- Assembled stretcher bars of the appropriate size
- Staples
- Staple gun
- Possibly a staple remover
Some Recommendations
Everyone is different and each artist will prefer something unique. However, I figured I would provide you with my recommendations regarding canvas and stretcher bars. I've bought a handful varieties of each, so I have more than a little experience. First, the stretcher bars are crucial. I've purchased some from Hobby Lobby and was definitely disappointed. These bars don't secure together very well and make it difficult to get a good square finish, with plenty of tension. If you're going to purchase your own stretcher bars, I recommend using Fredrix or Jack Richeson. Both are great, secure together well and can be used repeatedly, without any troubles.
In terms of canvas, I generally buy two brands, Fredrix and Richeson again. I either purchase Richardson Caravaggio Canvas or Fredrix Primed Canvas. Despite doing everything else, I do not recommend priming your own canvas. I have also used Sargent Art's Canvas from Amazon. Although it is affordable, you can tell it. I can literally tear it in half with my bare hands. Still, it is good for those working on a limited budget and those that just want to paint as much as possible to enhance their skills.
Supplies Needed
Step 1 - Preparing Your Canvas
First and foremost, you will want to cut your canvas. If you've purchased an unstretched painting, this will not be necessary. This step is fairly straightforward and shouldn't give you any difficulty. Just make sure you give yourself plenty of room to jerk and pull the canvas, so you can achieve plenty of tension. Dry try to be cheap and save canvas. At least allow an inch overhang, so you can get a good grip.
Step 2 - Start In The Middle
Once you've gotten your canvas cut to perfectly fit your stretcher bars, you'll want to put away your scissors and canvas roll, unless you plan on stretching more than one canvas. Either way, grab your stapler and start in the center. The first four staples should be all centralized. Two for the shorter sides and two for the longer side for a total of four staples. Make sure you pull the canvas as tight as possible or you'll run into trouble in the future.
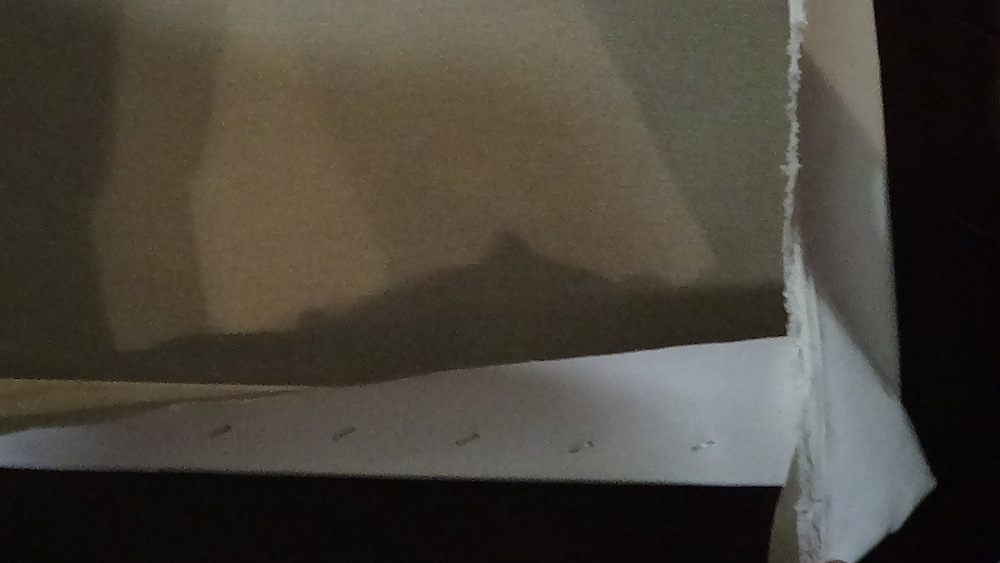
Step 3 - Long Side Middle And Outward
After you've finished with the four central staples, you will want to pick a long side of the canvas and jump back into the middle. Proceed to the left or right of the central staple, grab the canvas with your fingers, pull as tight as possible and secure it with a staple. Continue working in the same direction, until you place the final staple into the nearest edge.
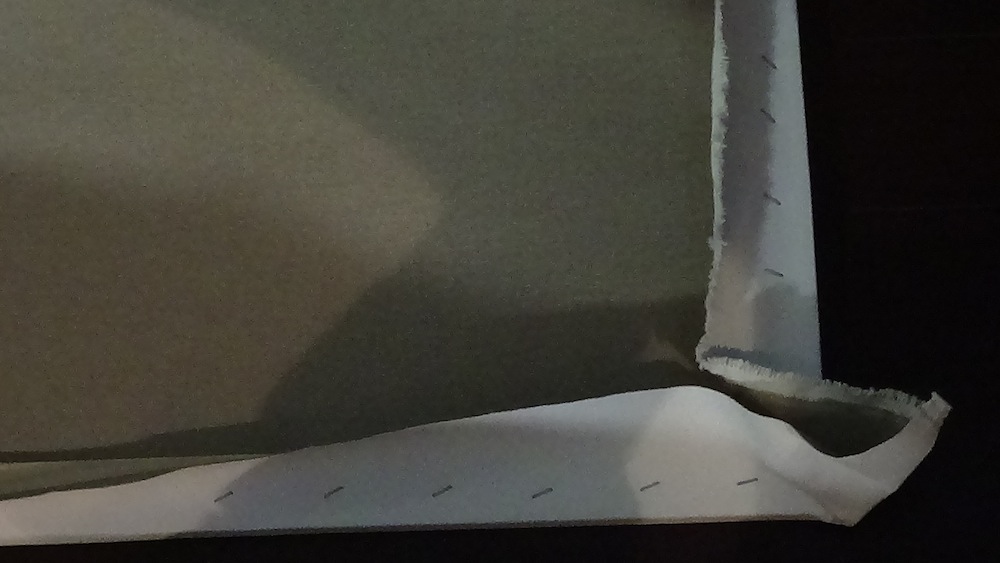
Step 4 - SAme Thing Short Side
Once you've finished the long side, you'll want to switch to the short size of your canvas. Again, start in the middle and staple towards the long side, which has already been finished. Once you're finished, you'll have an entire corner of the canvas completely stretched. If this corner is lacking tension whatsoever, you'll want to pull out the staples and do it again. This isn't fun, but I've done it many times, in order to obtain the precision tension that I desire. Some people may not be so OCD about a tight canvas, but I am.
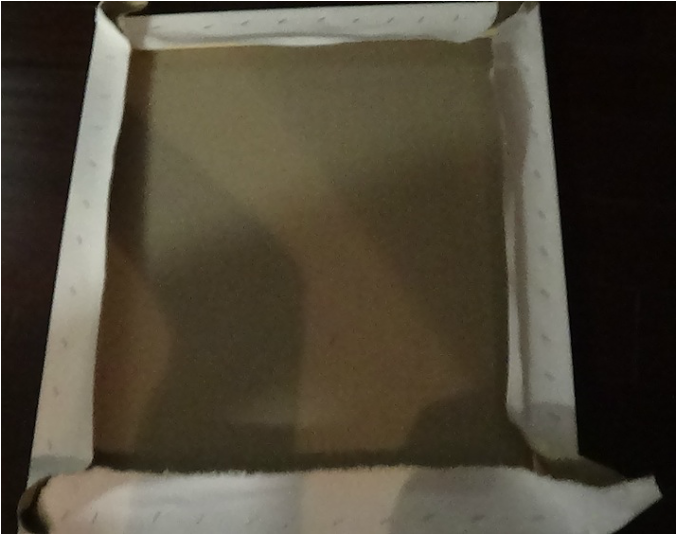
Step 5 - Repeat For All Sides
Now, repeat this process for the remainder of the corners. Remember to always start on the long sides of the canvas, before doing the shorter sides. Also, always start in the middle and work towards one side of the canvas or the other.
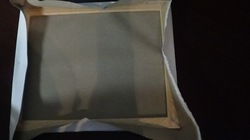
Step 6 - Finish The Corners
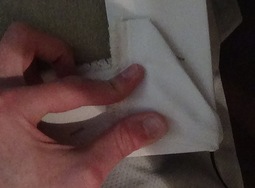
Finally, you can choose to leave the corner flaps hanging, or you can staple them securely to the canvas. When I paint, I often leave the flaps hanging loose in case I wish to remove the canvas at a later time. However, if you're stretching an already completed painting, you will want to grab ahold of the canvas' corner and full them inward. Initially, I found this to be somewhat difficult and some insist there is a magic solution. Just pull the canvas, so that it overlaps and falls into place and you'll be fine.
Conclusion
Well, you're done. I hope the information provided has been helpful to someone out there. Also, sorry for the terrible pictures. Took them and put the camera away. Sadly, they turned out a little darker than I had hoped. Remember to stretch the canvas to the tension you desire. I like a canvas, which beats like a drum, so my thumbs are usually sore and nearly raw, after the process has concluded.
Well, you're done. I hope the information provided has been helpful to someone out there. Also, sorry for the terrible pictures. Took them and put the camera away. Sadly, they turned out a little darker than I had hoped. Remember to stretch the canvas to the tension you desire. I like a canvas, which beats like a drum, so my thumbs are usually sore and nearly raw, after the process has concluded.
 RSS Feed
